This shop has been compensated by Collective Bias, Inc. and its advertiser. All opinions are mine alone. #WholeBlends #CollectiveBias

I have had SO many of you ask me about my "signature curls" - well, it's finally here! If you want to find out how I get my curls (and this easy crown braid), check out the tutorial below!

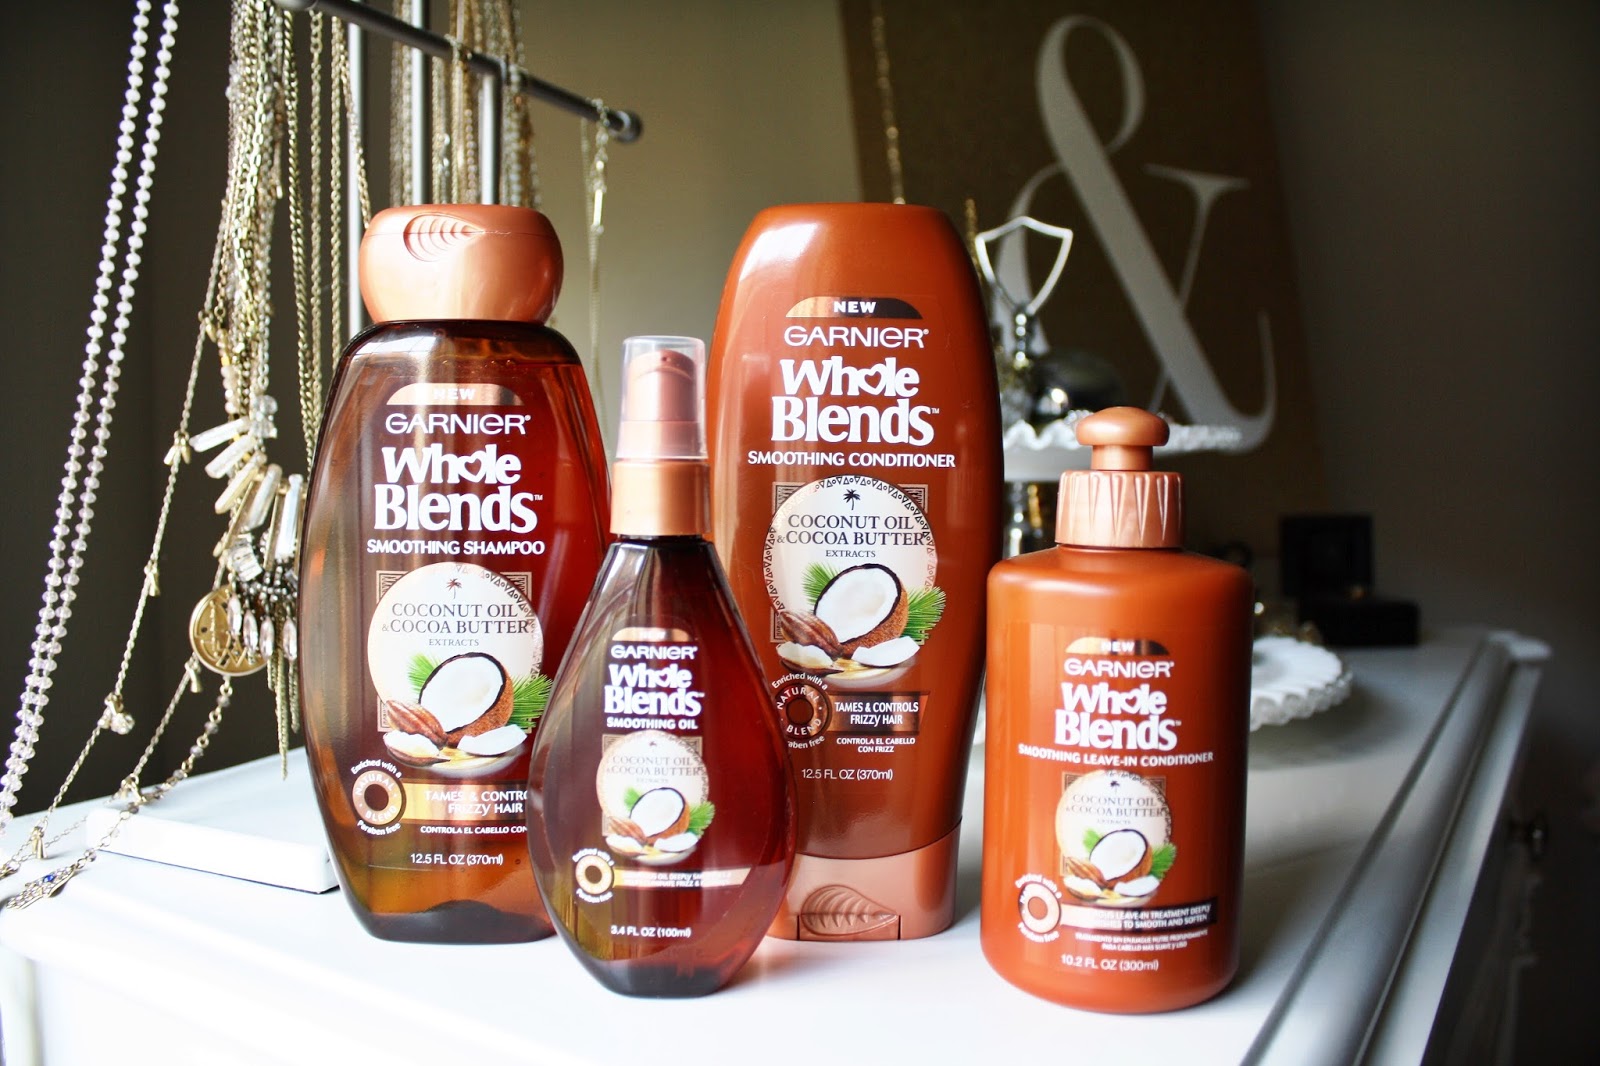
Healthy hair is the foundation to any look. I've been battling frizzy hair for as long as I can remember. I recently started using the full Garnier Whole Blends Smoothing Hair Care line and have been loving my results. It's made with coconut oil and cocoa butter extracts which helps to control my frizz! I picked up the entire line (shampoo, conditioner, leave-in conditioner and smoothing oil) at my local Walmart. And bonus - it makes your hair smell divine.
Before I start styling, I always prep my hair. I used a little bit of the smoothing oil and added on my favorite heat protectant.

Next, I started the braid. I started at my part and began doing an inverse french braid. So basically a normal french braid, but instead of taking the outside strands over the middle, you'll take the strands under the middle.

I did this all the way around my head. The back part is the trickiest, so once I get past my ear with the braid, I reposition my hands to continue the braid all the way around. Once I've braided to the end, I tie it off with a clear elastic band and then go through and loosen the braid to make it look fuller.

Once I pulled the braid apart to the thickness I like, I pull the end of the braid up and lay it over the braid on the opposite side of my head. Then just tuck the ends in and bobby pin away!

Now onto the curls. I use a 1-inch curling iron - but I use mine as a wand. I just grab a small section of hair and wrap it away from my face. Now the trick - when you're wrapping, simply grab onto the end of your hair and wrap. Your hair will naturally start to twist as you do this. This is what gives me those nice, mermaidy waves.

And my main secret. I ALWAYS set my curls with flat metal clips. This allows your curl to cool in the shape you want it. Not only does this make your curls last 3 times as long, but it also makes them full and bouncy. So I set all of my hair in clips and then allow them to cool for around 10 minutes. Then once you take the clips out - add a little hairspray, give it a tease (if you like extra volume) and voila. That's it!
I hope you all enjoyed this! You can check out the entire Whole Blends line here. Which blend do you want to try?
xoxo


Awesome tutorial!! Love your thick braids 😻
ReplyDeleteXoxo, Aldora
www.musingsofarabbit.com
We LOVE your blog!!!! SO beautiful!!!! Swooning over your thick braids!!!!
ReplyDeleteXOXO,
Kennadi Lane
www.kennadilane.com